
1756-MVID ControlLogix Diagnostics: Installation & Maintenance Guide
Product Introduction
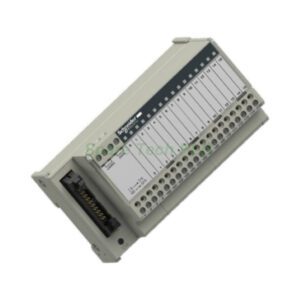
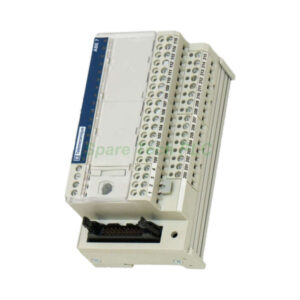
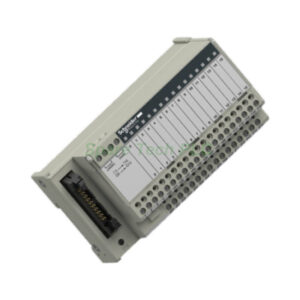
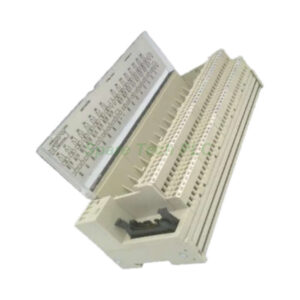
The Allen‑Bradley 1756-MVID provides 10 sinking input points. Each point handles 24V DC signals from standard field devices. Specifically, this module offers individual point‑level diagnostics without external fuses. You can use it for high‑density digital input applications. Moreover, the 1756-MVID reports open wire and short circuit conditions directly to the Logix controller. This feature saves panel space and reduces troubleshooting time. Many plants replace older fused blocks with this module for better reliability.
Core Value
Firstly, the 1756-MVID cuts downtime with fast fault detection. The module identifies a broken wire or a shorted sensor immediately. Secondly, you eliminate external fuse replacement. Each input channel has electronic self‑protection. Therefore, you do not open cabinets to change fuses. Meanwhile, the 1756-MVID supports reverse polarity protection on field power. This prevents damage during installation mistakes. Besides, the module sends fault status to the processor. Your HMI can then show exact input channel failures. Consequently, maintenance teams respond faster to machine stops.
Technical Insights
The 1756-MVID operates with an input voltage range of 10V to 31.2V DC. Nominal input current sits at 7 mA per point. Furthermore, the module has an OFF‑state voltage max of 5V. Input delay time is configurable from 0.5 ms to 32 ms. You adjust this delay in the RSLogix 5000 module properties. Specifically, the 1756-MVID uses a removable terminal block (RTB) for field wiring. The 1794‑TB3 or 1756‑TBNH terminal blocks work with this module. In addition, the backplane draws 110 mA at 5.1V and 150 mA at 24V. Power dissipation stays at 4.2 Watts total. You must derate the module above 55°C ambient temperature.

Installation & Maintenance
Start with the chassis powered off. Insert the 1756-MVID into any free slot. Then secure the card with the two retaining screws. Next, attach the RTB to the front of the module. Wire your field devices to the labeled terminals. Connect the 24V DC field power supply to the common terminals. After that, power up the chassis. Open RSLogix 5000 and add the 1756-MVID to the I/O tree. Use the correct revision, typically 3.1 or higher. Then configure input delays and diagnostic options. For maintenance, check the module status LED first. Green means normal operation. Flashing red indicates a backplane fault. A solid red module LED means an internal failure. Moreover, inspect field wiring every quarter. Loose terminals cause intermittent faults. Also, cycle power to clear latched diagnostic errors.
Buyer’s Guide FAQ
Q1: Is the Allen-Bradley 1756-MVID compatible with standard 24V AC signals?
No. The 1756-MVID accepts DC voltage only. Use 1756-IA series modules for AC inputs.
Q2: Can the 1756-MVID detect an open field device?
Yes. Specifically, the module has built‑in open wire detection. You enable this feature in the configuration.
Q3: What happens when an input channel shorts to ground on the 1756-MVID?
The electronic protection limits the current. The module reports a short circuit fault to the controller.
Q4: How many 1756-MVID modules can I place in one ControlLogix chassis?
You can fill all slots with 1756-MVID modules. The chassis backplane power supply limits total quantity. Calculate total current draw before installation.
Q5: Why does my 1756-MVID show a diagnostic fault but the field LED is off?
A field LED off means no input signal. First, check the field wiring for a broken wire. Then verify the 24V DC field power supply. If both are good, replace the 1756-MVID.